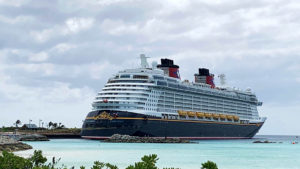
I, of course, also went a little overboard. Get it? It’s a boat, overboard, oh nevermind.
I thought the welcome bags would be a nice way to show everyone how much we appreciated them coming to our wedding. I know this wasn’t the easiest or cheapest wedding to attend, so I wanted to show our gratitude. (I know exactly how much people spent on the rooms since I booked almost half the staterooms myself, and had to process everyone’s payments.)
I am a fairly crafty person, but I also tend to get in over my head. I told both my Mom and Jay that the only thing I wanted for my birthday was a Cricut Maker, and that I would happily put money towards it myself, because I realized it would make so many of the wedding projects easier.
I started with researching items that people recommend packing for a Disney Cruise that they wouldn’t have necessarily thought of themselves, like lanyards and reusable cups. It’s easier to keep your room key/ID, also known as a “Key to the World” card, in a lanyard than trying to pull it out of your wallet, and while soda is free on Disney Cruise Line, the cups are small so if you bring a larger cup, that means less trips for refills. However, if you’ve never been on a cruise, you don’t know those things. I certainly wouldn’t have without researching it.
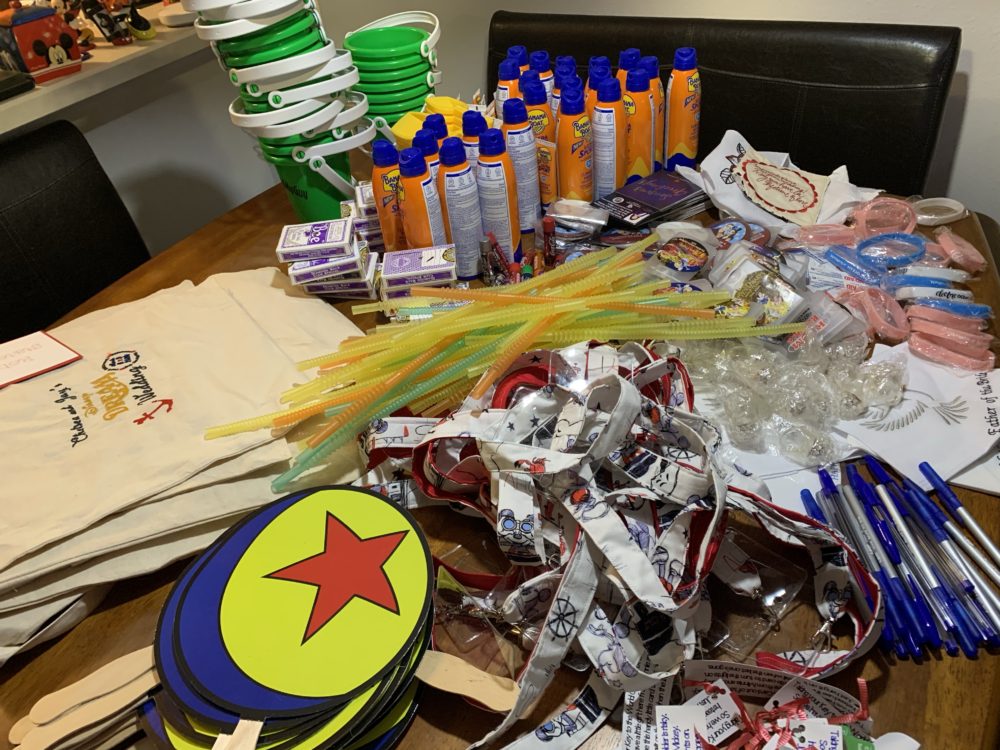
If I ever took a photo of just the lanyards, I can’t find it, so here they are with a bunch of the other items.
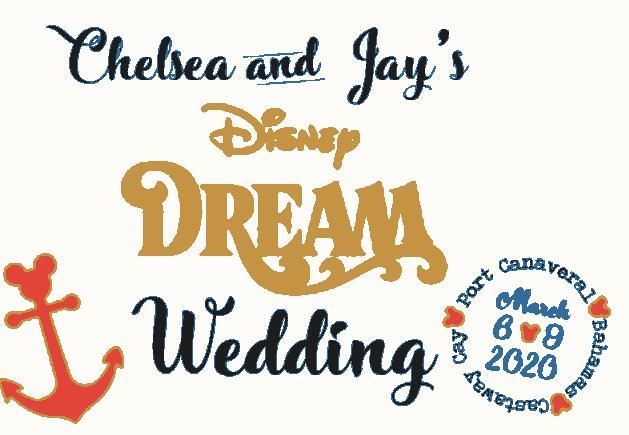
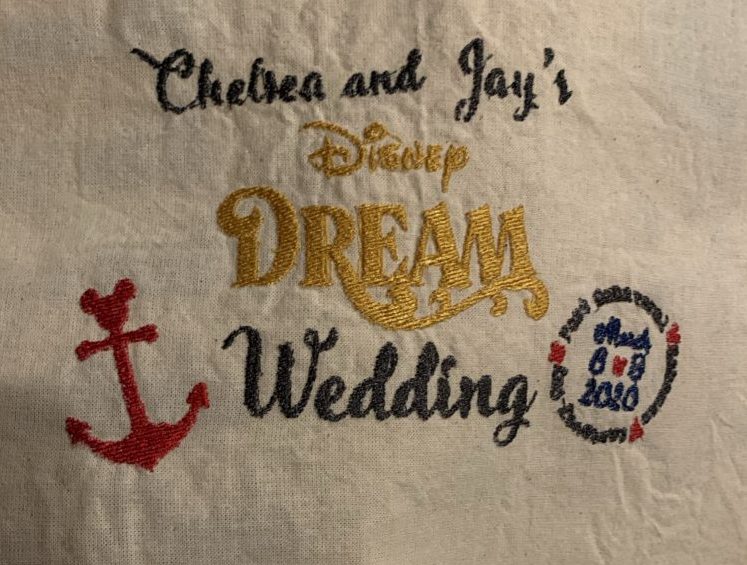
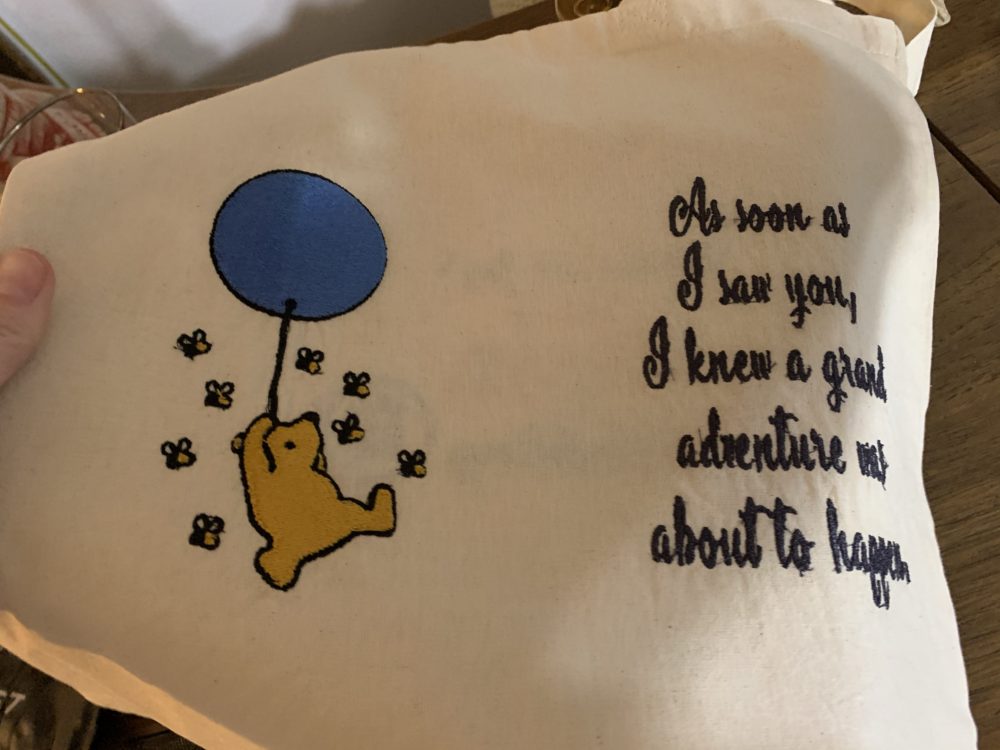
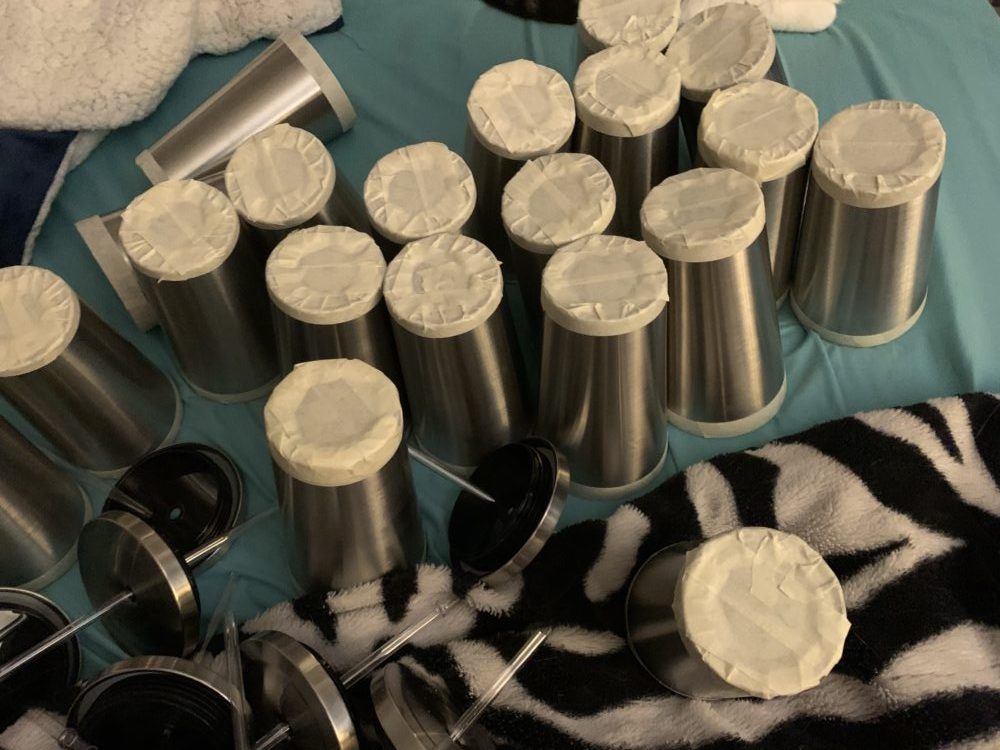
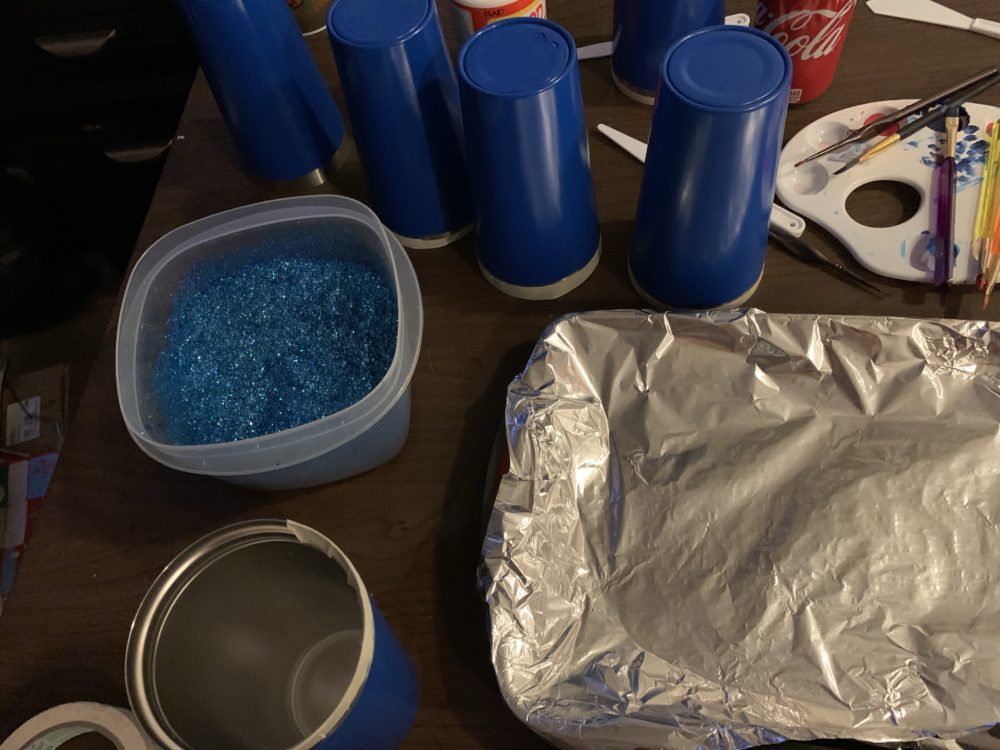
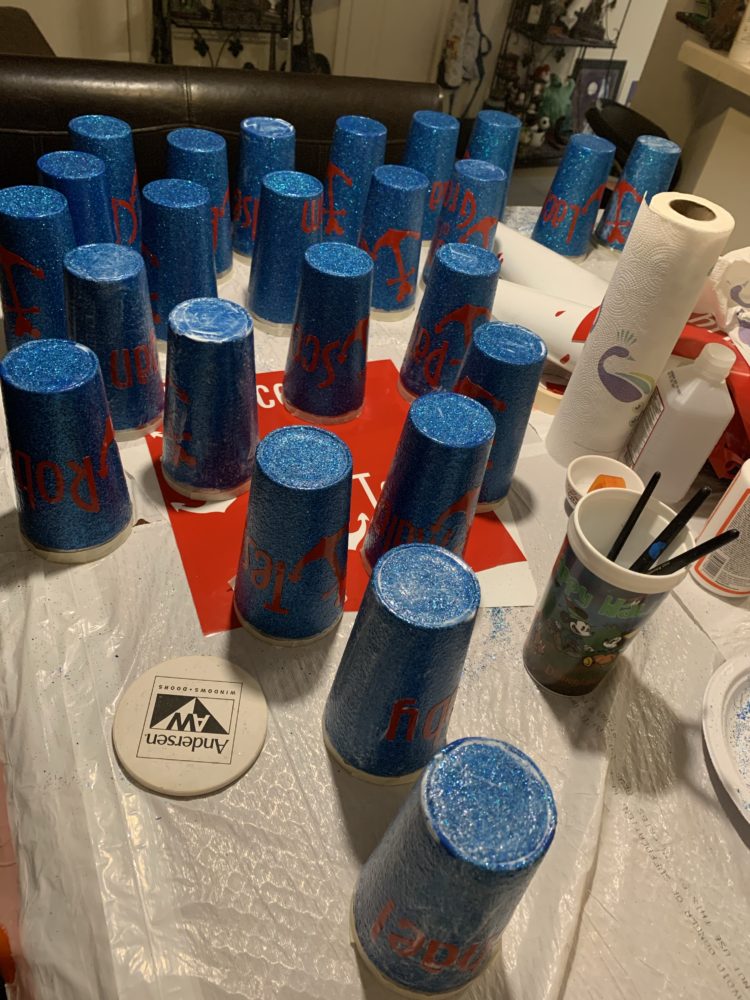
My mom and I coordinated going to Michaels and buying the tumblers one at a time with 50% off coupons. She shopped in Tennessee, and I shopped in Florida. I realize that sounds like a lot of effort, but I’m in the same parking lot as Michaels usually once a week anyway, and there is a Michael’s close to my mom’s office, so it wasn’t too hard. She stuck all her cups in her carry on, when she came to visit in mid-November, so we didn’t even have to mail them. I finally ordered the last five all at once on Black Friday, just to get it over with. I used this tutorial, and I made the tumblers over two months. Jay spray painted the base coat, and then I started putting on the individual glitter coats. When I realized I was probably going to run out of time, my friend Cara (the same Cara from the engagement photos) offered to come over and help. While Jay and her boyfriend Chris played video games upstairs, Cara helped me finish the glitter layers on every single tumbler. Then I just had to seal them with more mod podge, put the names on them, and seal them again. The names were actually the hardest part because the transfer tape and the glitter weren’t getting along, so I had to do every letter by hand and just pray they were mostly straight. They probably would have turned out better if I had used epoxy instead of mod podge, but I realized I was going to run out of time if I tried to use epoxy.
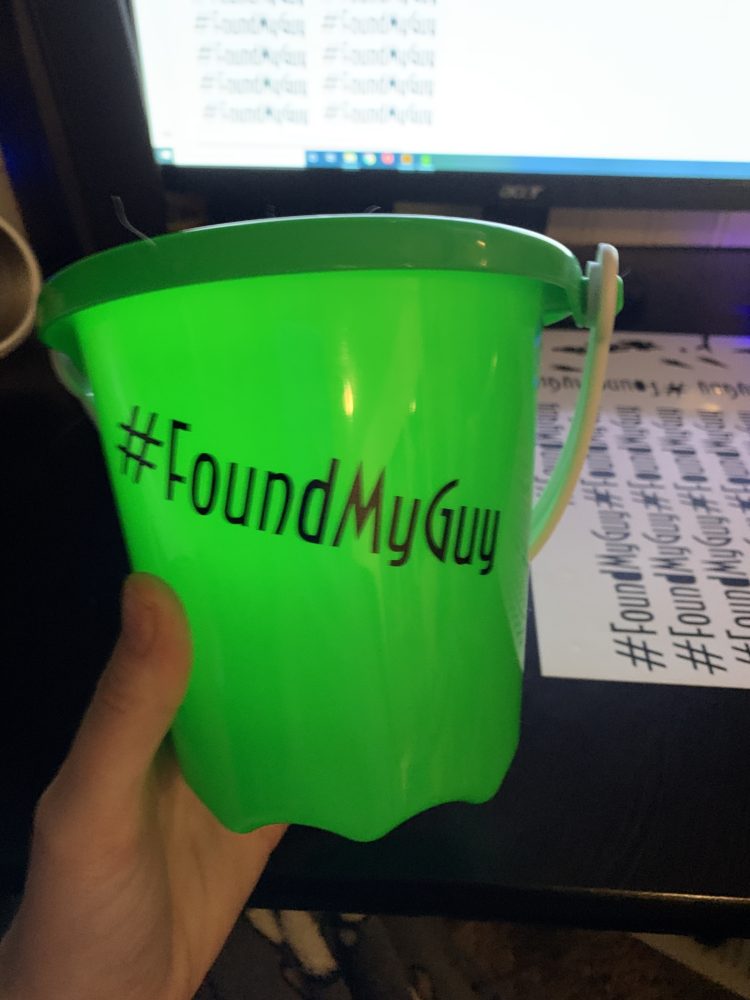
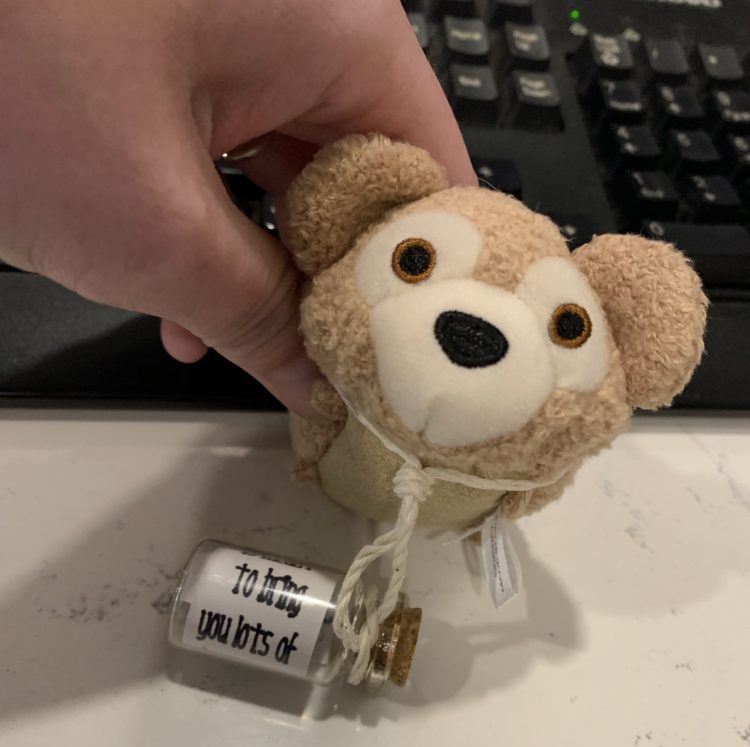
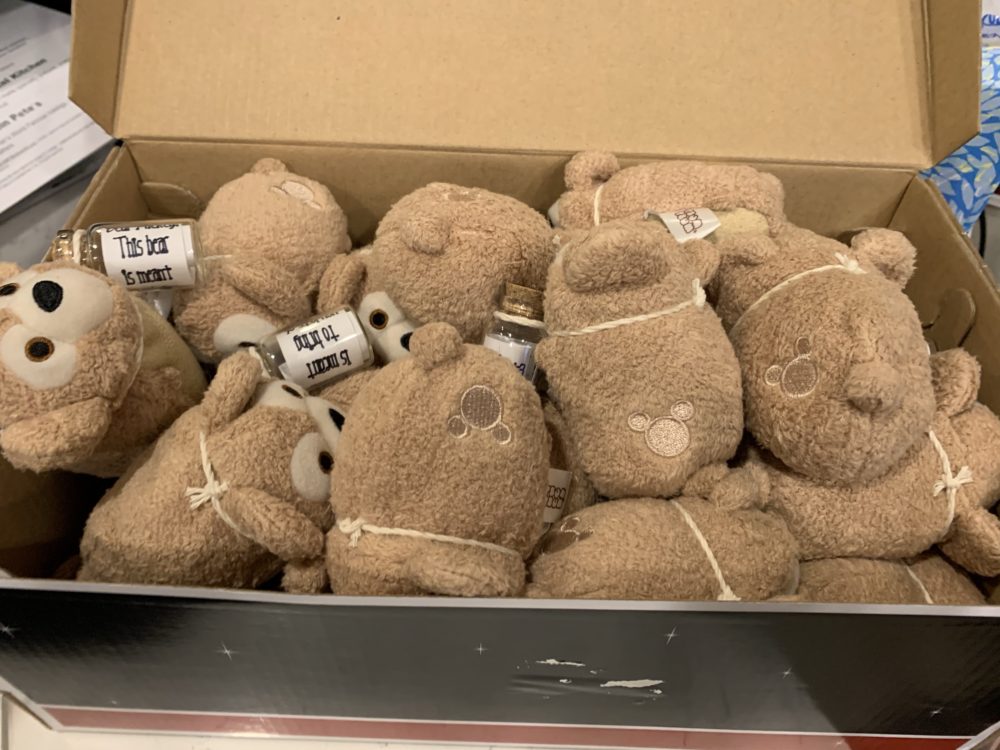
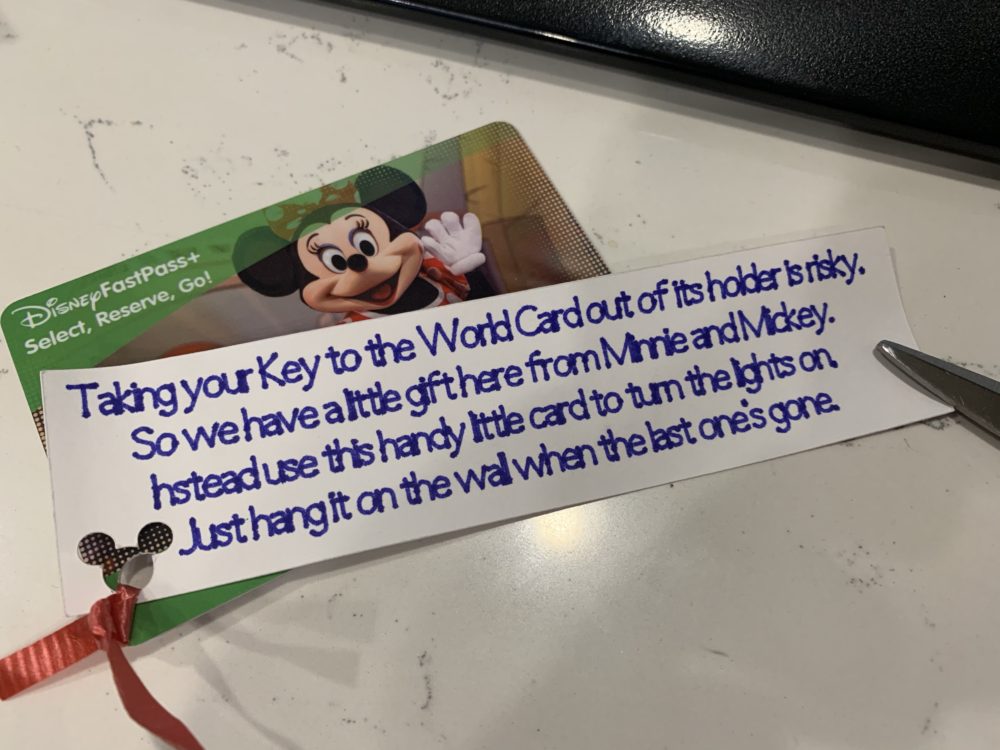
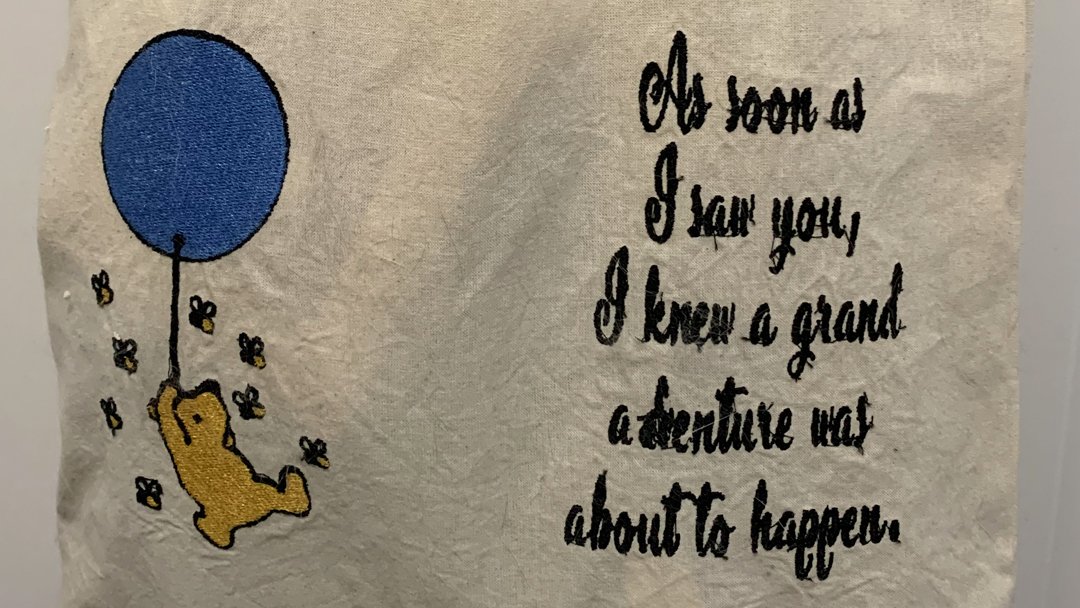
There were also things included in the welcome bags that required no crafting: Chapstick, reusable straws, sunscreen, pens, notepads, paper fans, playing cards, hand sanitizer, sunglasses, sleeping masks, Kleenex packets, light up rings, sachets to be used as room deodorizer, and laundry bags for dirty clothes. Well, the laundry bags didn’t “require” crafting, but our friend Morgan was kind enough to personalize them for everyone. As an added bonus, AC Moore happened to be going out of business right before the wedding, so Mom scored plastic champagne flutes and “Bride’s Mate” shot glasses that we added at the last second.
The absolute best two things in the welcome bags I made, but I just had to design them instead of making them myself. I also had help. I can design all day long. I can’t draw to save my life.
Robby Cook, also known as Cartoon Cookie, is an amazing artist who got onto my radar right after I moved to Florida. He does lots of wonderful art, but what he’s famous for is Avatar/Disney mashups. I met him at MegaCon a couple of times, and I commissioned Jay’s birthday present from him back in 2018.

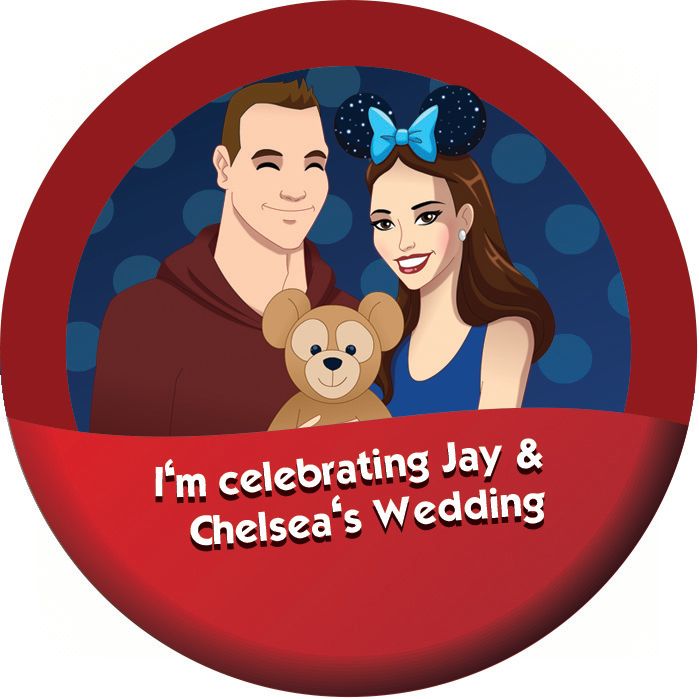
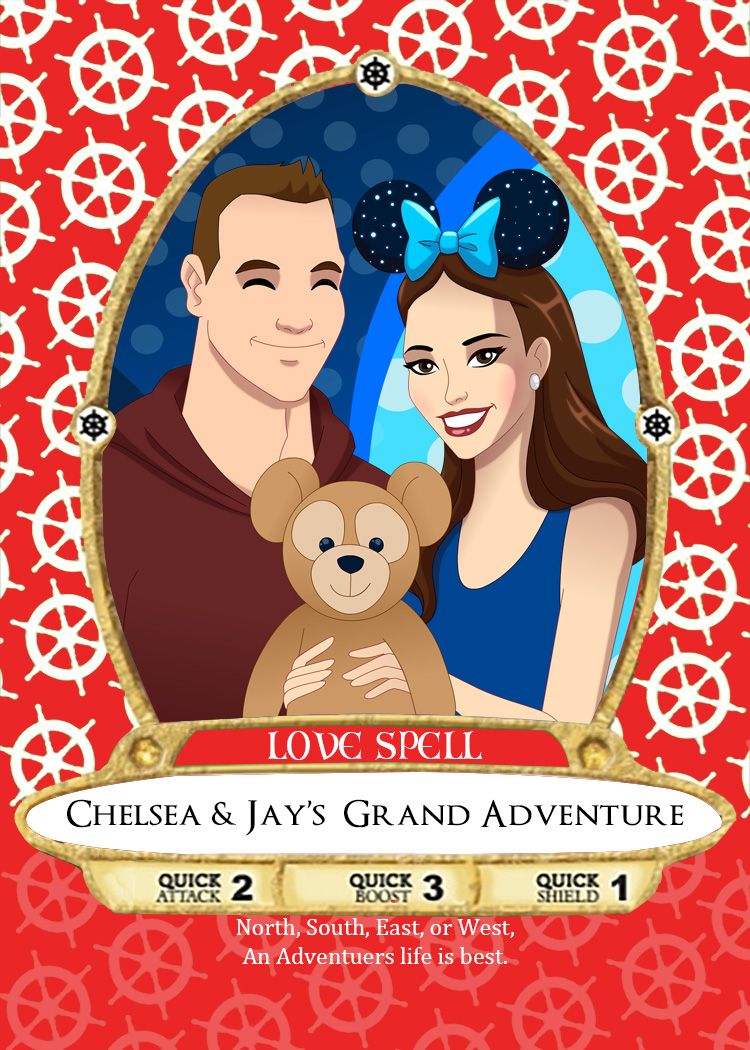
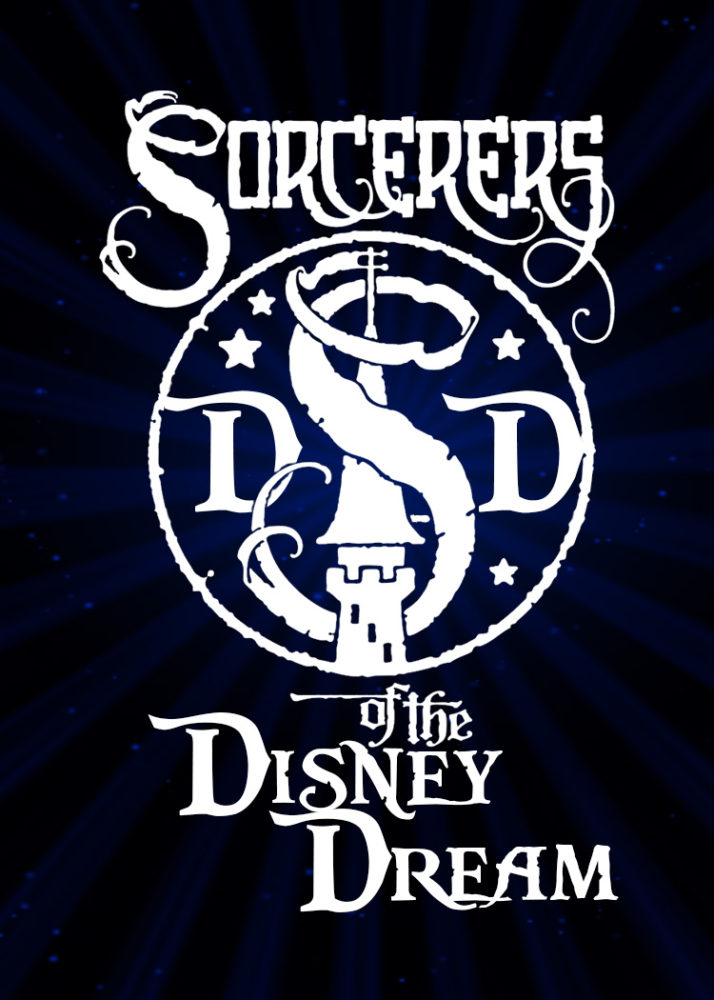
The technology (or magic, depending on how you wanna look at it) that makes the cards work doesn’t actually read the artwork on the card. It reads the border of the card. So, I took one of the Halloween cards and changed the colors, then replaced the artwork with Robby’s.
Best part? I tested them at Magic Kingdom before the cruise. They work!
My Mom happened to have a conference in Orlando in February, so we spent one evening putting the bags together. Trying to make sure every bag got one of everything and that nothing got missed or duplicated was MUCH harder than I ever would have guessed. If we’d had the room, setting up an assembly line would have made the process easier, but we had already started by the time I realized that. I’m glad the cups were the only things I put names on!
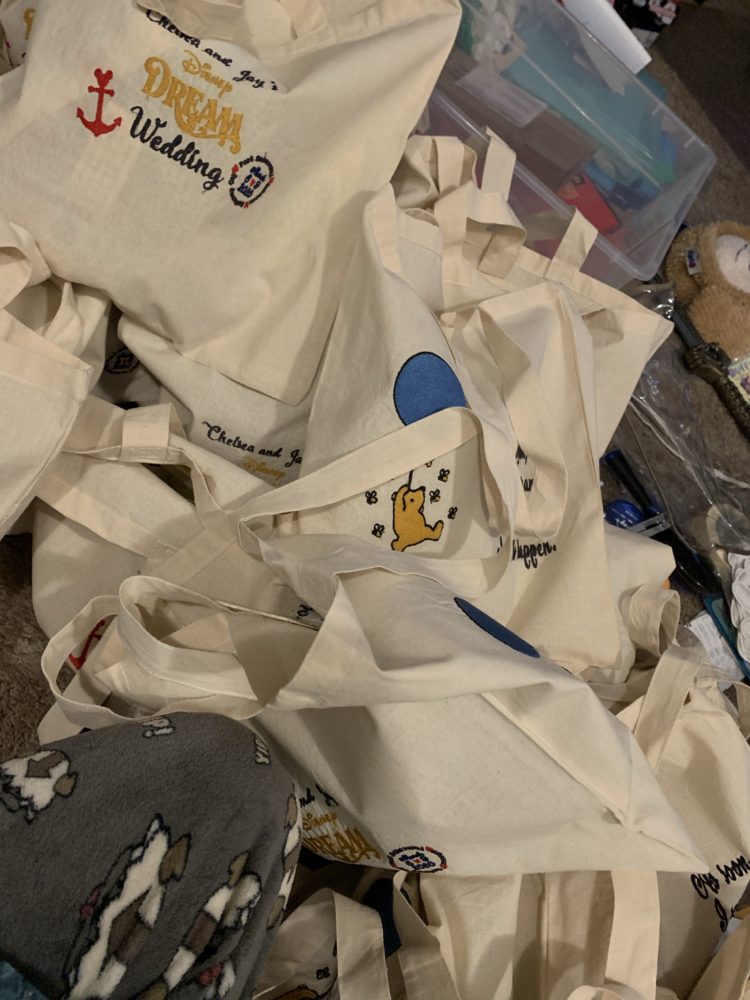
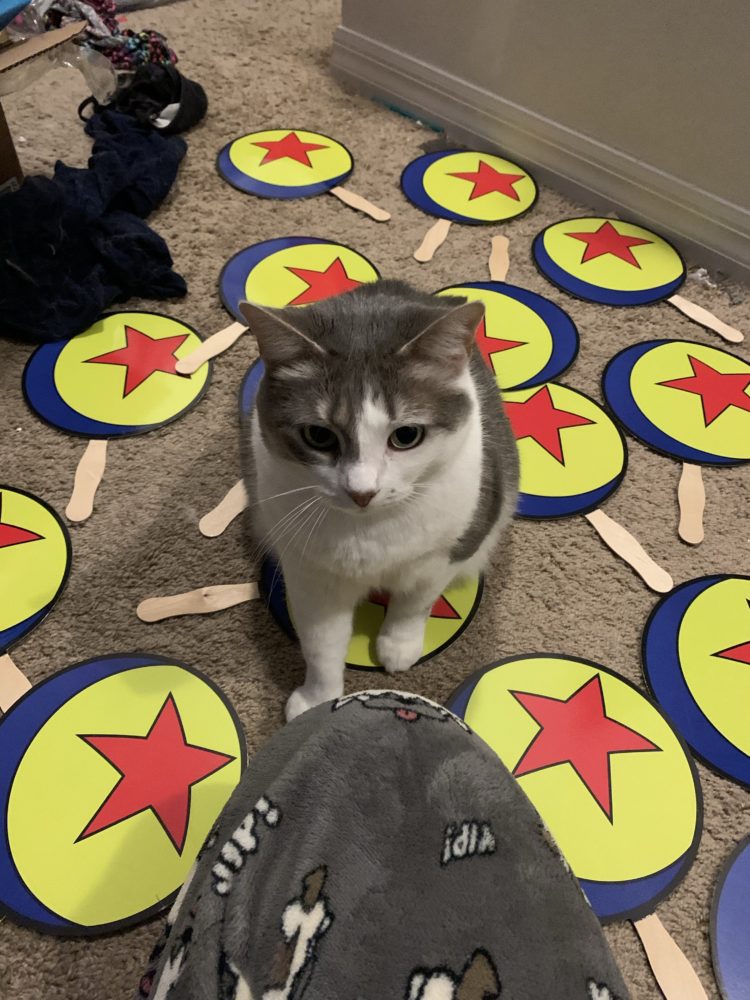
The welcome bags were probably where I went the most over budget, other than Jay’s suit. Not that I spent tons and tons of money on the welcome bags, but I spent much more than I planned originally, because I got carried away. It was also easy to keep going, because it was a bunch of little things instead of big purchases. I don’t know what Mom spent at AC Moore because she also bought a bunch of stuff that was a surprise for later, so that’s not included in the budget. However, I know she got crazy good deals because I think everyone was buy three, get one free, and sometimes buy three, get two free. This was on top of a heavy percentage discount to begin with. There are also some things included in this section of the budget that have nothing to do with the welcome bags, but they were ordered at the same time so I don’t have separate receipts.
The hardest part of the welcome bags was getting them to the cruise ship, but I’ll talk about that later.
Cruise Fare: $4,944.06
Invitations and Postage: $89
Disney Fine Art Photography: $2875.50
Fairytale Hair and Makeup Deposit: $100
Hair and Makeup Trial: $180
Hoop-Dee-Doo: $444
Park n’ Cruise for 6 Vehicles: $256.94
Wedding Party Outfits: $125.43
Wedding Dress Materials: $300
Wedding Dress Garment Bag: $15.99
Groom’s Suit: $527.18
Groom’s Dress Clothes and Shoes for the Cruise: $79.14
Groom’s Accessories: $73.04
Suit Garment Bag: $13.99
Lanyard Supplies: $64.89
Robby Cook Art: $100
Duffy Tsum Tsums and Buckets: $28.50
Duffy Bottles: $20.29
25 Canvas Bags: $47.49
Stainless Steel Tumblers, Glitter, and Cardstock: $123.89
Sunscreen and Bandaids: $178.96
Sorcerers Cards, Buttons, and Custom Tie: $107.08
Magnets: $5.99
Chapstick: $17.23
DIY Supplies: $14.26
Sunglasses, Kleenex, Sleep Masks: $57.97
Card Protectors and Sharpies: $15.51
Cricut Vinyl: $74.39
Total: $10,872.52

