A lot of my life involves looking for something only to conclude it doesn’t exist, so I make it myself. For example, when I was trying to redo my bathroom a while ago and couldn’t find anything I liked, I wound up painting a bunch of stuff myself and accessorizing with patterned duck tape. I got a new bathroom scheme for about $20.
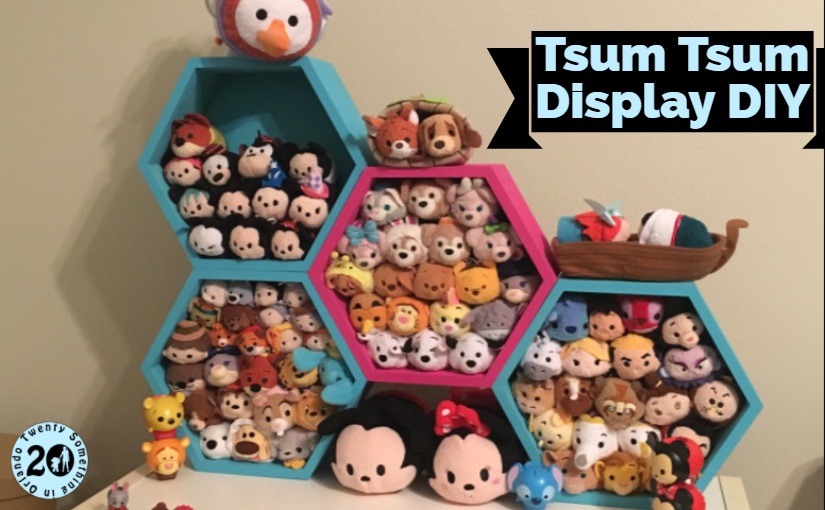
Sadly, this project was a bit more expensive than that, but I’m still extremely pleased with how it turned out. In addition to my Duffy Rescue, I also collect Tsum Tsums. They’re smaller, less expensive, and they release new ones more frequently so it’s a win-win. The problem is storing and displaying the little buggers. I looked online for inspiration and saw some great ideas, but nothing I loved. I wanted something that could be easily added onto later. I didn’t want to build a display that only fit what I had since I know my collection will grow, but I also didn’t want a lot of dead space in the meantime.
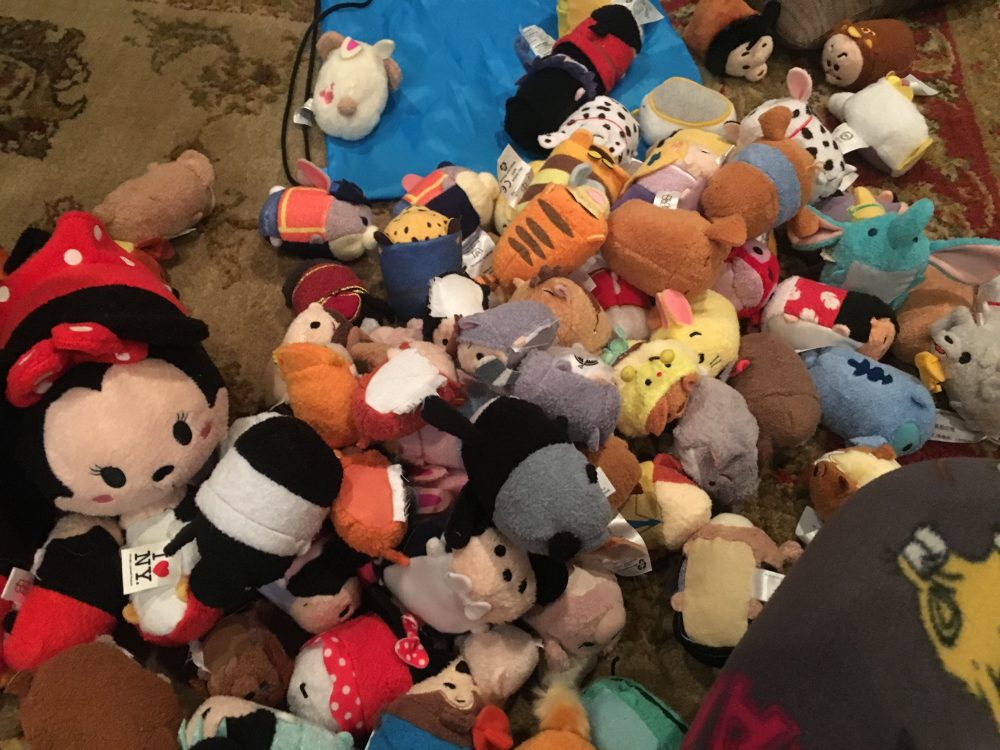
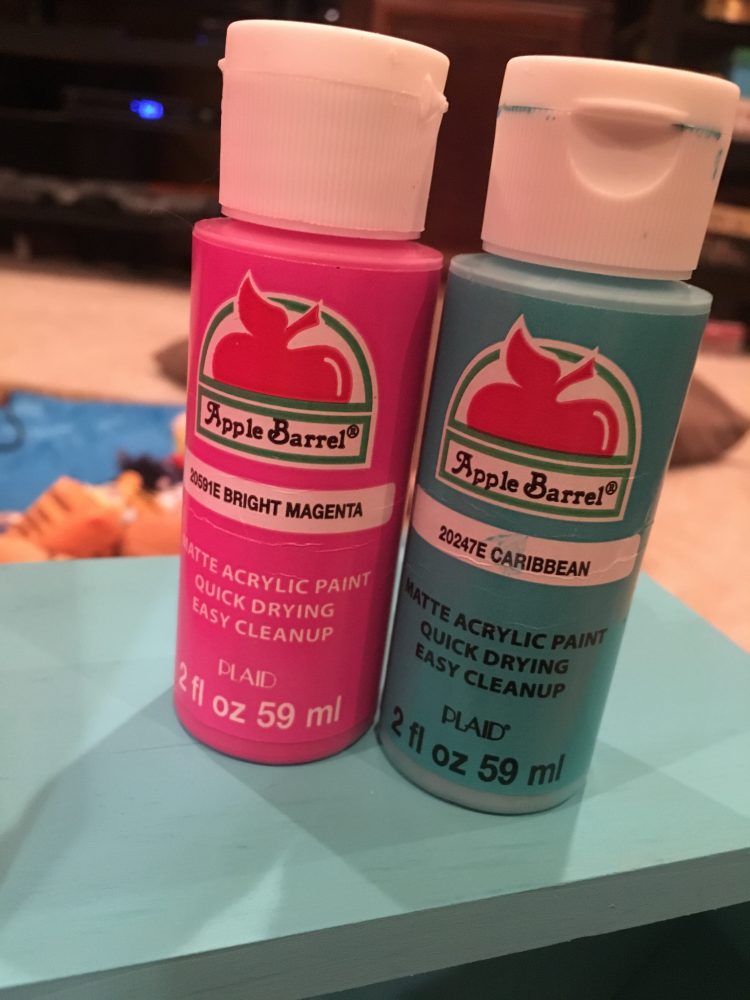
Tsum Tsum literally means “stack stack” in Japanese, the whole idea is that they stack on top of each other. I saw a lot of displays with round boxes or buckets, and I didn’t like that since circles don’t exactly stack. I found squares too boring, so I landed on hexagons. I found some unfinished wooden hexagon boxes at Target for $6.99 each. (When I’m in project mode I’m not good at waiting, even when it is free two day shipping.) I started with four, figuring I could add more later. I painted them in bright colors with all-purpose craft paint. I have a large supply of Apple Barrel paints around the house-it’s actually what I use when I paint on canvas. While it’s not the highest quality, it paints super smooth and you can’t beat the price. I was going to do them all in the same color, but I ran out of “Caribbean,” so the last one got to be “Bright Magenta” instead.
I then stacked all the boxes together, kind of like honeycomb in a bee hive, and nailed them together. I highly recommend doing this on a flat surface like a table or a hardwood floor. I did mine on carpet and I got one of the boxes off slightly, so the whole thing rocks like a school desk with a wobbly leg if you poke it. Since I plan on putting it on top of a dresser and leaving it alone, hopefully it won’t be a problem. You could also hang this if you wanted to-the boxes come with built in hooks on the back. I might be doing that in the future.
Plus you’ll need a hammer, and your Tsum Tsums of course.
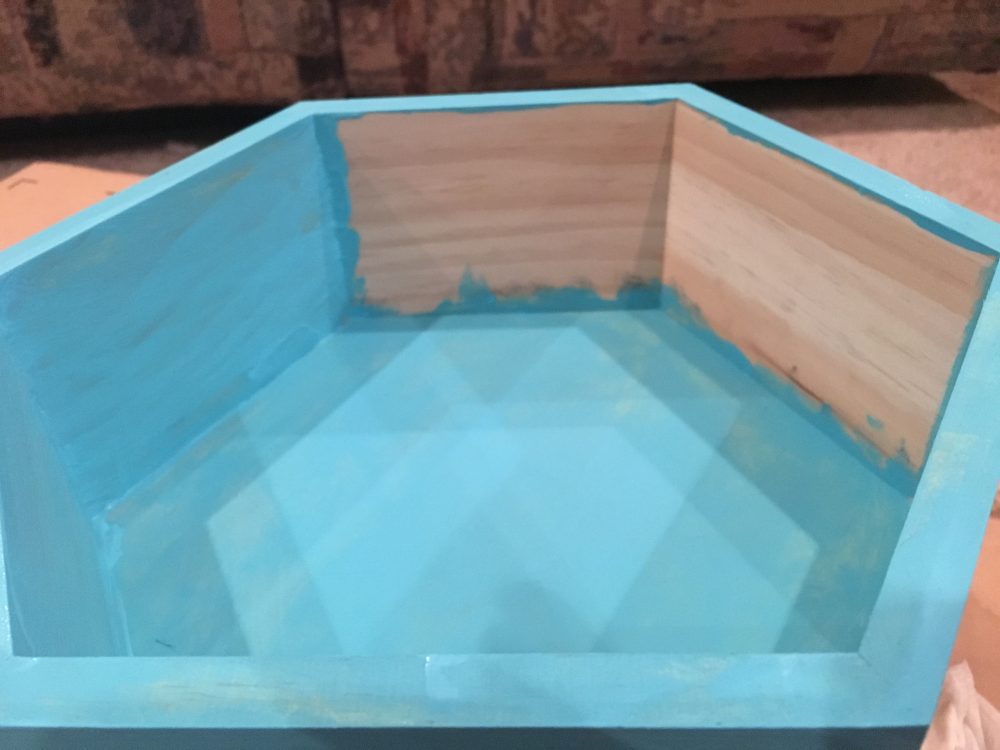
Step One: Paint the boxes the color of your choosing. Let dry. You don’t have to paint the insides, but I did.
Step Two: Align two of the boxes how you want them to stack. Nail the sides together. Make sure you keep them straight. I used three nails per box, for a total of six nails per connection.
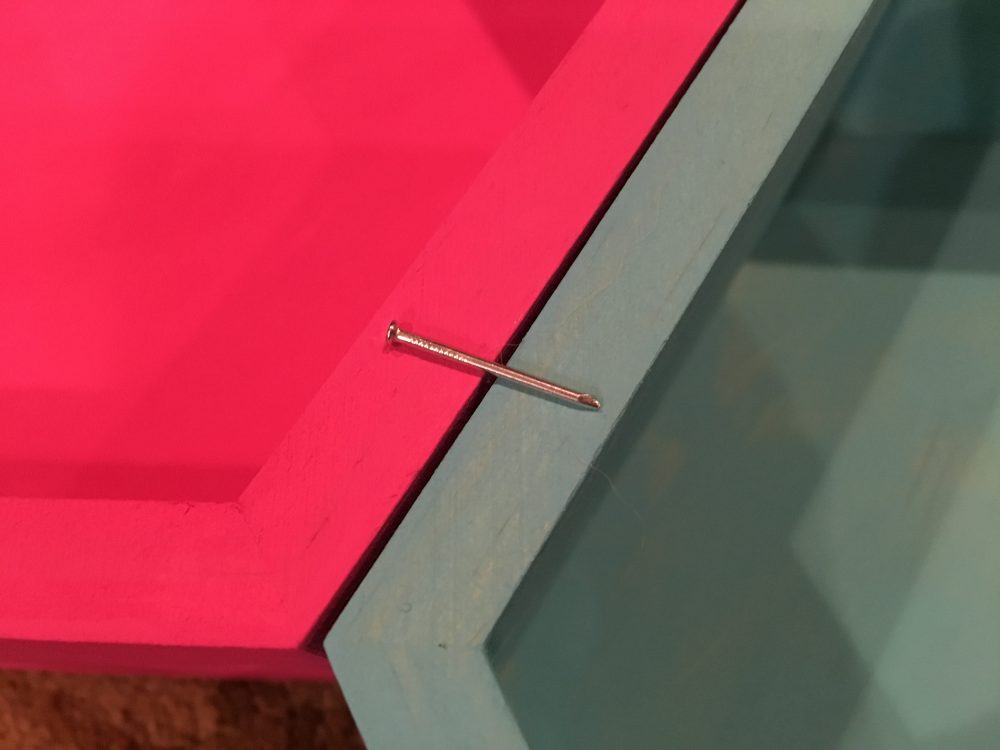
Step Three: Repeat with additional boxes until done.
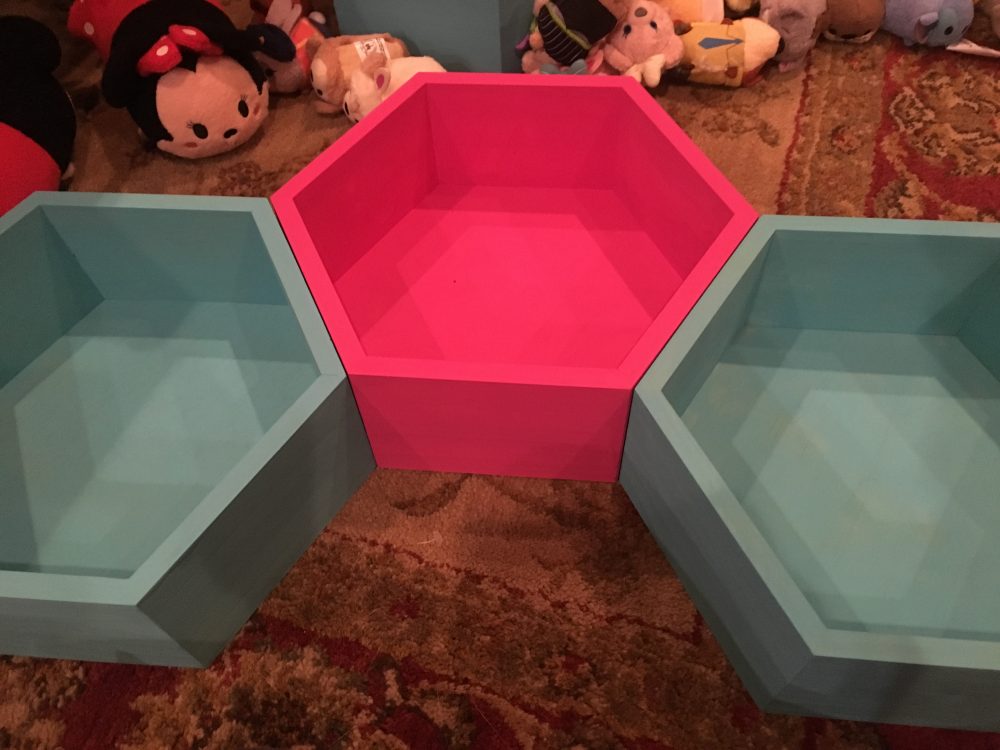
Step Four: Stand upright, test for wobbles.
Step Five: Arrange Tsum Tsums to your liking.

Cost: I spent about $30 without counting the Tsum Tsums.
Time: About two hours including drying time.
Stay up to date on all things Twenty Something in Orlando by subscribing to our newsletter or supporting us on Patreon! You can also find us on Twitter and Instagram!

